FILE • EDIT• OBJECT • TYPE • SELECT • FILTER • EFFECT • VIEW • WINDOW
|
||
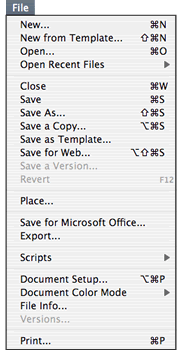
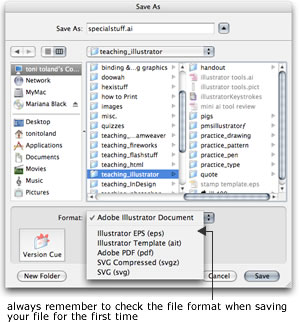
MENUSNew / command N New from Template / command shift N Open / command O Open Recent Files Close / command W Save / command S Save As/ command shift S Save A Copy... Save as Template... Save for Web Save a Version Revert Save for Microsoft Office... Export... Scripts Document Set Up / option + command P Document Color Mode File Info Versions...
|
|
|
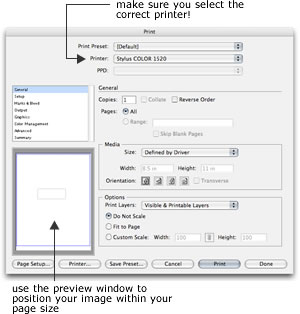
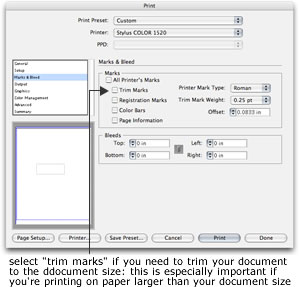
Print / command P It's also a good idea to check your page setup and printer options using those buttons at the bottom left of the print dialog box. When you've checked everything, click "done" to return to your document without printing, or "print" to send it to the printer.
|
|
|
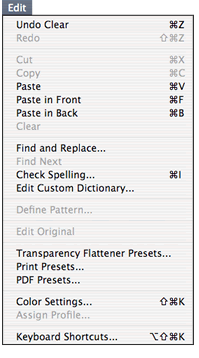
EDIT Redo / command shift Z Cut / command X Copy / command C Paste / command V Paste in front / command F Paste in back / command B Clear Find and Replace... Find Next... Check Spelling... Edit Custom Dictionary... Define Pattern... Transparency Flattener Presets... Print Presets... PDF Presets... Color Settings Assign Profile Keyboard Shortcuts
|
 |
|
|
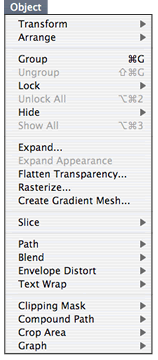
Transform: Arrange: Group / command G Ungroup / shift + command G Lock / command 2 Unlock All / option + command 2 Hide / command 3 Show All / option + command 3 Expand... Expand Appearance Flatten Transparency Rasterize Create Gradient Mesh Slice Path Blend Envelope Distort Text Wrap Clipping Mask -> Make / command 7 Masks -> Release / command + shift 7 Compound Path -> Make / command 8 Compound Path -> Release / command + shift 8 Crop Area Crop Area -> Release Graph
|
 |
|
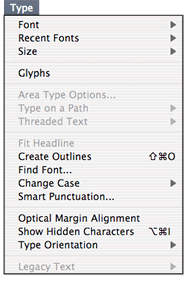
TYPE Font Recent Fonts Size Glyphs Area Type Options... Blocks (link + unlink) Type on a Path Threaded Text Fit Headline Create Outlines / shift + command O Find Font... Change Case... Smart Punctuation... Optical Margin Alignment Show Hidden Characters Type Orientation Legacy Text
|
 |
|
|
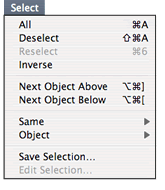
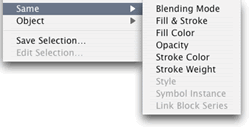
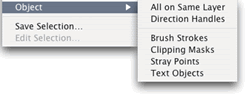
All / command A Deselect / shift + command A Reselect / command 6 Inverse Next Object Above / option + command ] (right bracket) Next Object Below / option + command [ (left bracket) SAME Blending Mode: select a blended object, and this will select any other object with the same blending properties. Fill + Stroke Fill Color Opacity Stroke Color Stroke Weight Style Symbol Instance OBJECT All on same layer Direction Handles Brush Strokes Clipping Masks Stray Points Text Objects Save Selection Edit Selection
|
|
|
|
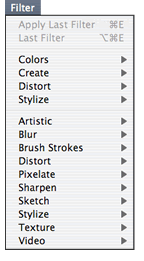
I debated whether to include everything here, or just provide a cursory look at this menu: it is mighty powerful. In the interest of continuity, I decided a simple explanation of filters would suffice for this section. See the section on Filters for more detail. Apply Last Filter / command E Last Filter / option + command E Colors Create Distort Pen and Ink Stylize The next set of filters are the same ones you have in Photoshop. You must select objects and rasterize them (from the Object menu) before these filter will work. Of course, they will work on a placed image as well. Make sure you’re working in RGB mode, and not CMYK, to have all these filters available
|
 |
|
|
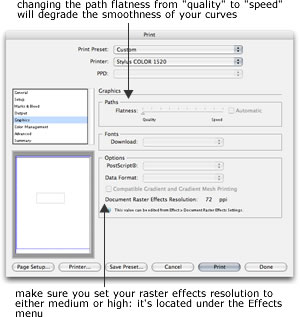
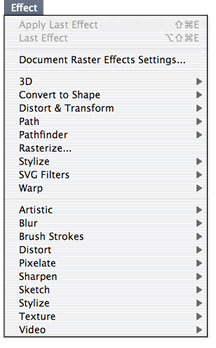
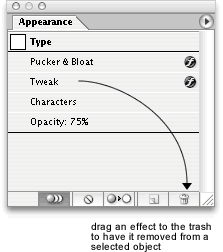
Effects are a bit different from filters, even though they appear to be the same in certain aspects (like the same set of Photoshop filters at the bottom). The main difference is that these effects don’t change the original object. If you want to stop these effects from affecting everything you do, use the appearance palette to drag them to the trash. Document Raster Effects Settings Convert to Shape Distort & Transform Path Pathfinder Rasterize Stylize SVG filters Warp
|
check out some 3-D effects! |
|
VIEW Preview / command Y Outline / command Y
|
||
Overprint Preview / option + shift + command Y Proof Setup Proof Colors Zoom In / command + (=) Zoom Out / command - (minus) Fit in Window / command 0 (zero) Actual Size / command 1 Hide - Show Edges / command H Show/Hide Artboard Show/Hide Page Tiling Show/Hide Slices Lock Slices Show/Hide Template / shift + command W Show/Hide Rulers / command R Show/Hide Bounding Box Show/Hide Transparency Grid Guides Lock Guides / option + command ; (semicolon) Make Guides / command 5 Release Guides / option + command 5 Clear Guides Smart Guides Show Grid / command ” (quote) Snap to Grid / shift + command ” (quote) Snap to Point / options + command ” (quote) New View Edit Views
|
|
|
|
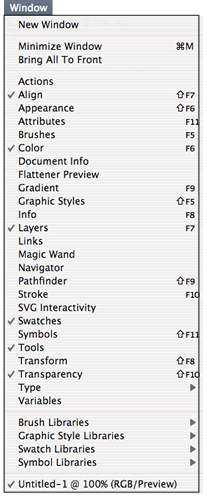
New Window Minimize / command M Bring All to Front Actions Align Appearance Attributes Brushes Color Document Info Gradient Graphic Styles Info Layers Links Magic Wand Navigator Pathfinder Stroke Styles SVG Interactivity Swatches Symbols Tools Transform Transparency Type Variables Brush Libraries Graphic Libraries Swatch Libraries Symbol Libraries |
 |
|


|
|||||||||||||||||||||||
 |
|||||||||||||||||||||||
 |
|||||||||||||||||||||||
 |
|||||||||||||||||||||||
 |
 |
 |
|||||||||||||||||||||