COLOR
FILL & STROKE
There are several ways to deal with color in Fireworks. Select the fill and stroke colors before drawing something, or select an object and change it’s fill or stroke using one of the following options:
Open the color mixer and/or swatches panel from the Window menu. In the mixer, click on the pencil icon to choose a stroke color, or the paint bucket to choose a fill color from the spectrum, or type in R, G, and B values.
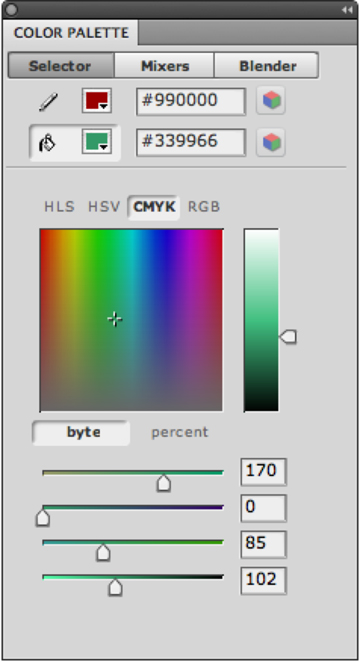
The Color panel has three different ways to select color. At the top of each is the opportunity to select whether you want to adjust the stroke or fill color. The Selector option is similar to the Color Picker in Photoshop or Flash. Click in the spectrum to set a color, or use the sliders to mix a color you like.
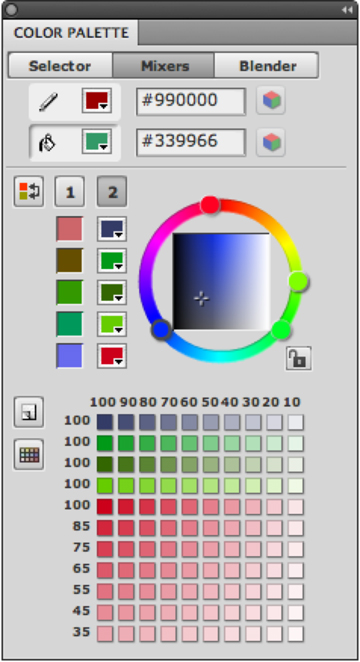
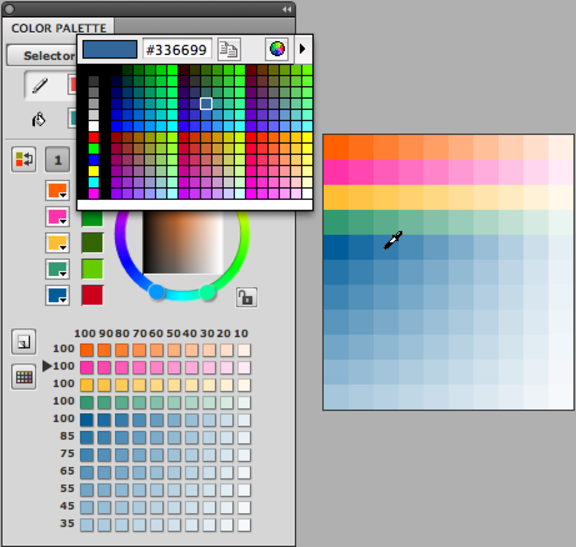 The Mixers panel can be used to first select the color scheme you're using for your site by highlighting the palette 1 or palette 2, and then click on each swatch below to select the colors you're using. You can fine-tune the colors using the color wheel to the right, and Fireworks creates tints of each color in the swatches below. Clicking on the pad icont at the left will open a file with the colors you've chosen so you can sample from those as you work. In Fireworks, as with Flash, when selecting a color, you can click on an image to sample a color—you don't have to limit yourself to what's in the color panel. Note in the image to the left the small eyedropper icon is selecting a color from the document, rather than the standard swatches.
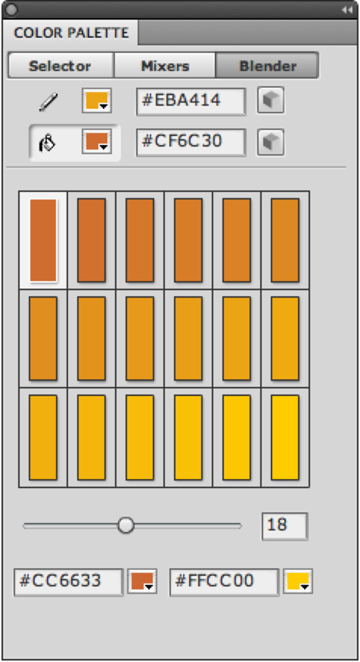
The third option—the Blender—mixes two colors to create a range that will all work together. Underneath the swatches, use the slider to determine how many swatches you want.
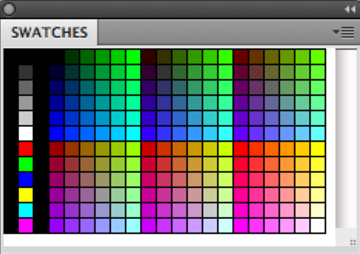
 In the swatches panel, click the color you want to use. In this
case, however, the stroke or fill icon in the tool palette needs to
be “indented” (active) first
in order to determine whether you’re changing the fill or stroke.
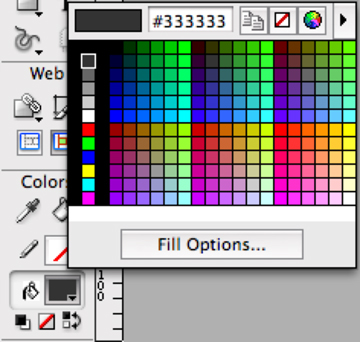
In which case, you can click on the fill or stroke icon in the toolbar
to access the Swatches panel. Click on the desired stroke or fill color
from there. Or, select a stroke and/or fill color from the Properties panel.
In the swatches panel, click the color you want to use. In this
case, however, the stroke or fill icon in the tool palette needs to
be “indented” (active) first
in order to determine whether you’re changing the fill or stroke.
In which case, you can click on the fill or stroke icon in the toolbar
to access the Swatches panel. Click on the desired stroke or fill color
from there. Or, select a stroke and/or fill color from the Properties panel.
Finally, you can select a color for a fill or stroke (depending on which is active in the tool palette) from a bitmap image, or from another file all together using the eyedropper tool.
To select a color from another file, open it and make sure both your current document and the one containing the color(s) you want to use are visible. Click and drag the document tab away at the top of the workspace to separate them.
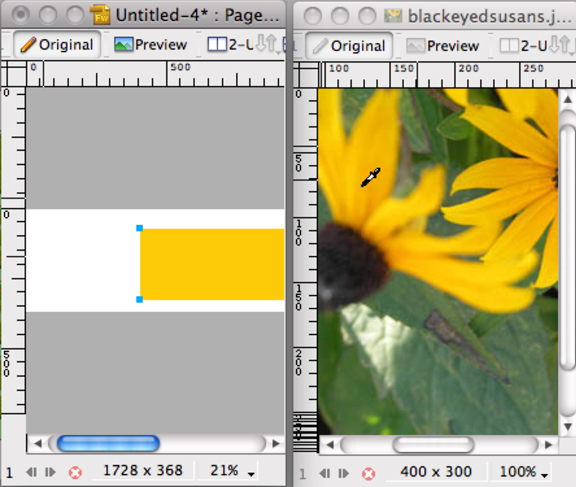 Select the object whose color you want to change and then click
on the fill color box in the property inspector. Once the swatches panel pops up, move the eyedropper icon over to
the document with the desired color and click on the color you want. Note in the image at the left, the eyedropper is used to select a yellow from one image and apply it to an object in a separate document.
Select the object whose color you want to change and then click
on the fill color box in the property inspector. Once the swatches panel pops up, move the eyedropper icon over to
the document with the desired color and click on the color you want. Note in the image at the left, the eyedropper is used to select a yellow from one image and apply it to an object in a separate document.
Use the stroke portion of the properties panel to add interesting
edges to your objects: select a stroke category from the pop-up menu,
a color from the color box, and use the sliders to adjust the width and
intensity of the stroke. You can also apply a texture to a stroke.
TEXTURE

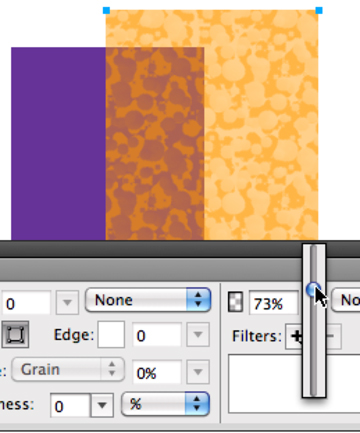
 All vector objects are drawn with a texture set to 0% by default (in the Properties panel).
To make a texture visible, select the object and use the texture slider
in the Properties panel. Use the texture pop-up menu to select the texture you want.
All vector objects are drawn with a texture set to 0% by default (in the Properties panel).
To make a texture visible, select the object and use the texture slider
in the Properties panel. Use the texture pop-up menu to select the texture you want.
Checking the “transparent” box sets the texture from color-to-white, to color-to-transparent, allowing any color underneath to show through.
Textures can be applied to strokes as well as fills.
TRANSPARENCY
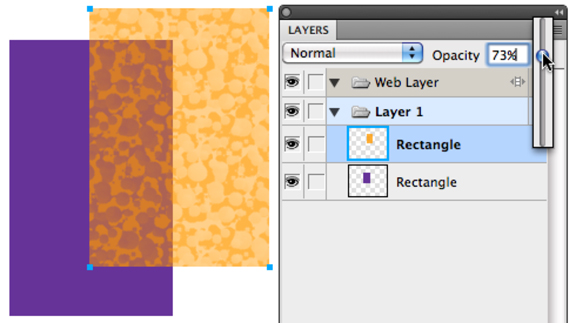
All objects can be less than opaque. Use the Filter section of the
Properties panel to set the level of transparency of a selected object.
You can also set transparency using the layers panel.
GRADIENTS
Fill options include solid colors, textures, patterns, and gradients. While there are a lot of steps to creating and modifying a gradient ’s really quite easy and intuitive.
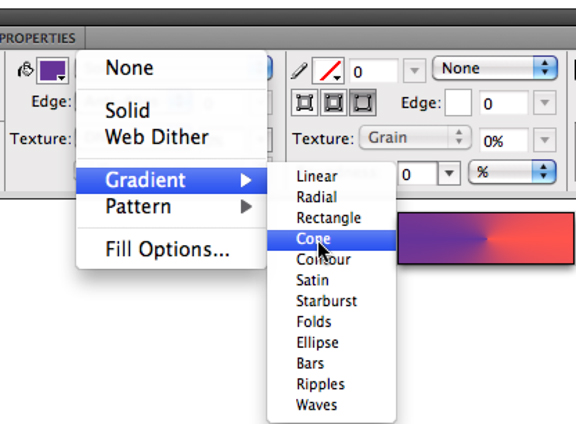 Select the object you want to assign a gradient fill. Then click on
the fill pop-up menu (not the color swatch box). Choose Gradient and
you get a major selection of gradient options to choose from. (You
can also do this before drawing anything to set the gradient ahead
of time.)
Select the object you want to assign a gradient fill. Then click on
the fill pop-up menu (not the color swatch box). Choose Gradient and
you get a major selection of gradient options to choose from. (You
can also do this before drawing anything to set the gradient ahead
of time.)
To adjust the colors, use the same fill popup menu to choose Fill Options.
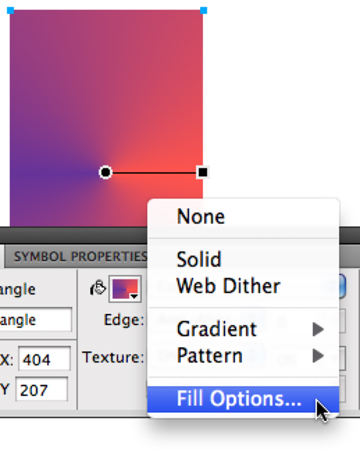
 Another dialog box pops up, where you can change the type of gradient,
or edit the colors. Click the edit button for yet another dialog box
that allows you to change the colors, and add additional ones.
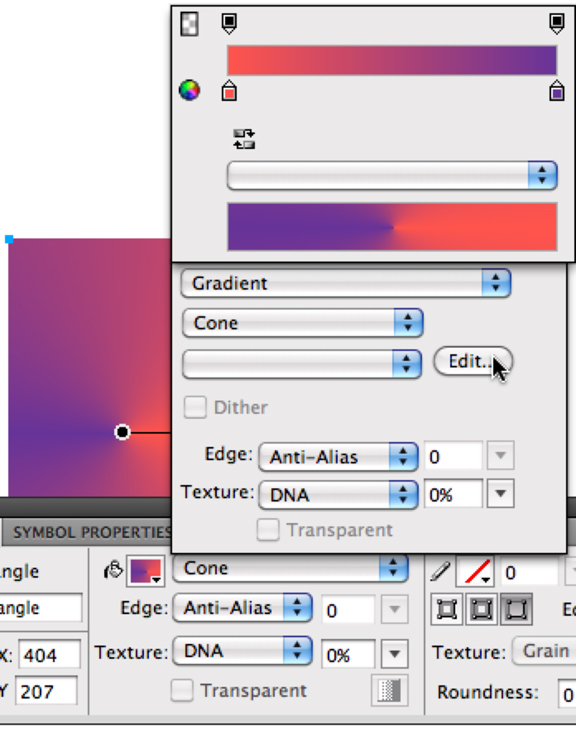
Another dialog box pops up, where you can change the type of gradient,
or edit the colors. Click the edit button for yet another dialog box
that allows you to change the colors, and add additional ones.
Add more colors to your gradient by clicking underneath the color bar to create a new tab. Then click on the tab to select the color
Once you’ve finished, just click away from the panels a couple of times to close them.
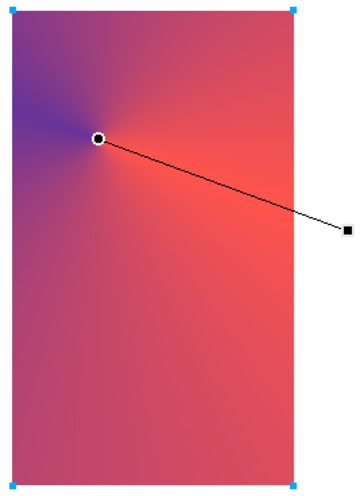 Adjusting a gradient is also easy. Once you’ve assigned a
gradient to an object, you ‘ll note that there are control points
that dictate its direction, the center point, and length.
Adjusting a gradient is also easy. Once you’ve assigned a
gradient to an object, you ‘ll note that there are control points
that dictate its direction, the center point, and length.
Adjust the direction by clicking and dragging the square end point.
Adjust the length by moving the square endpoint closer to or farther away from the center point.
Move the center point by clicking and dragging the circle to another location.
LIVE FILTERS
 Another cool thing in Fireworks is the Filters portion of the
Properties panel. You can create beveled edges and drop shadows,
blur things, and a lot more.
Another cool thing in Fireworks is the Filters portion of the
Properties panel. You can create beveled edges and drop shadows,
blur things, and a lot more.
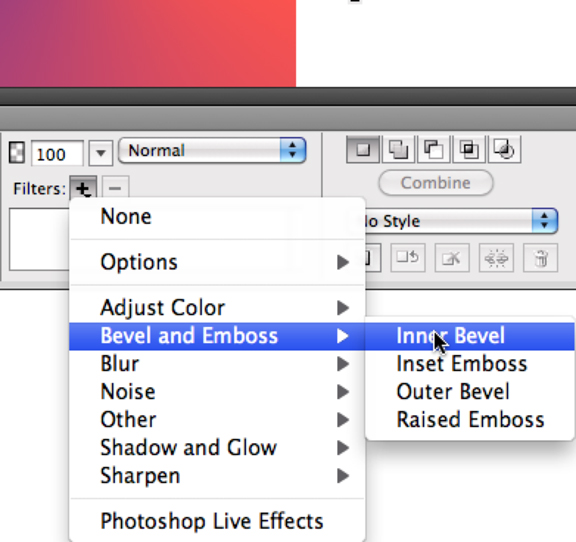
Without going into major detail about what each effect does, here’s how to apply them, and delete them if you don’t like the results.
Select an object and then click on the Filter “+” button and drag to the effect you’d like to try (above left).
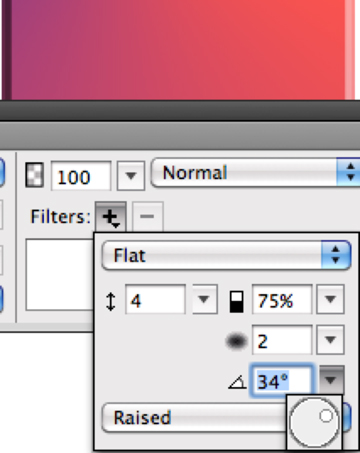
You’ll get a dialog box that lets you adjust the different aspects of the effect (above right). When you like what you’ve done, just click away from the dialog box to close it. You’ll notice that the effect has been added to the list below the effects portion of the properties panel.
Keep clicking on the “+” button to add additional effects.
If you want to eliminate one, click on it in the list and then click on the “-” button.
To edit an effect, double click it in the list.
SAVING STYLES
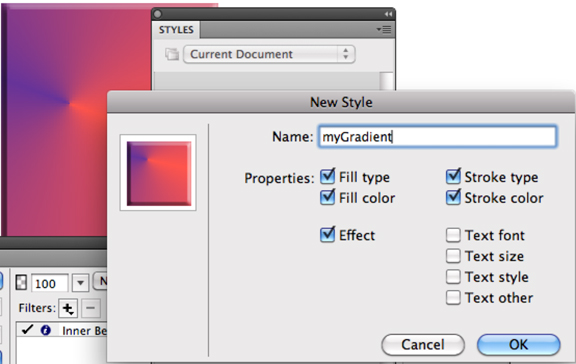
If you’ve created an object with various fills, strokes, and
effects that you’d like to use again, you can save it as a style
using the styles panel. (Open it from the Window menu.)
Select the object, and then click on the “add style” icon at the bottom of the style panel. You can then select the attributes of the selected object to include in the saved style.
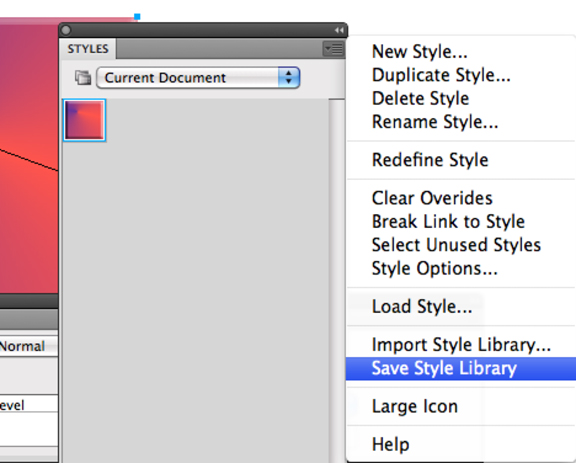
Use the styles options menu to save/export styles to use again in
other files.