PANELS
There are several panels that you should have open on your desktop to make working easier and faster. Open them using the Window menu.
LAYERS
The layers panel is indispensable. Each time you draw something, paste something, or import something, Fireworks creates a sub-layer in the document. You can see these in the layers panel under the default layer.
Reorganize these sub-layers by clicking and dragging them up or down in the list: as with layers in all other software, the upper layer contains the frontmost object.
Double click on a layer or sub-layer to rename it.
Hide or show a layer or sub-layer by clicking on the eye icon.
Lock a layer or sub-layer by clicking in the box next to the eye—a little lock icon will appear.
Collapse a layer by clicking on the triangle to the left.
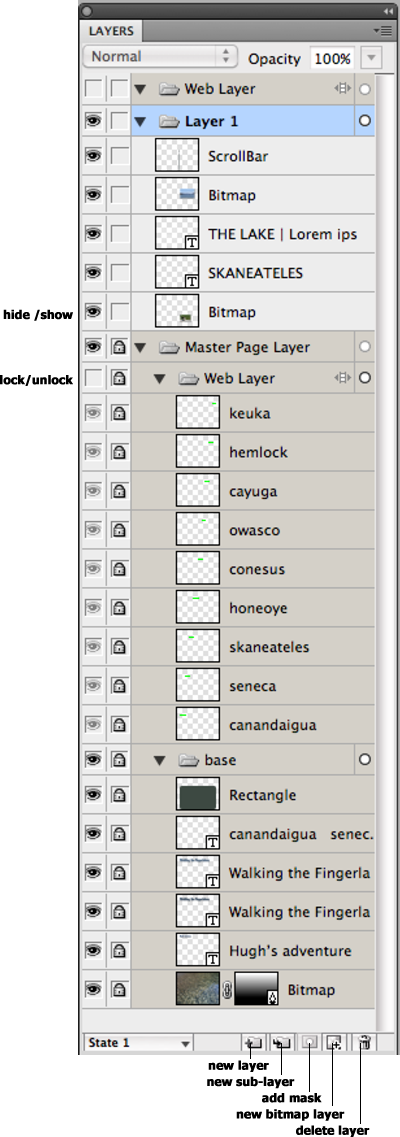
Add a new layer by clicking on the folder icon at the bottom of the panel.
Add a mask to a sub-layer by clicking on the mask icon at the bottom of the panel.
Add a new bitmap sub-layer by clicking on the pad icon at the bottom of the panel.
Delete a layer, sub-layer, or a mask by clicking on it and dragging it to the trash icon.
The layer or sub-layer you’re working on is highlighted in blue: click on a layer in this panel to select the object on it. This is especially helpful when there are things on top of where you want to work.
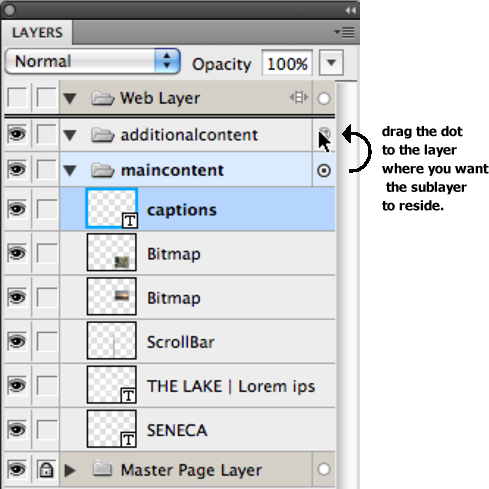
To move a sub-layer from one layer to another, highlight it, then select the circle/dot icon next to the layer name. Drag that to move to the sub-layer where to the layer you want.
 |
 |
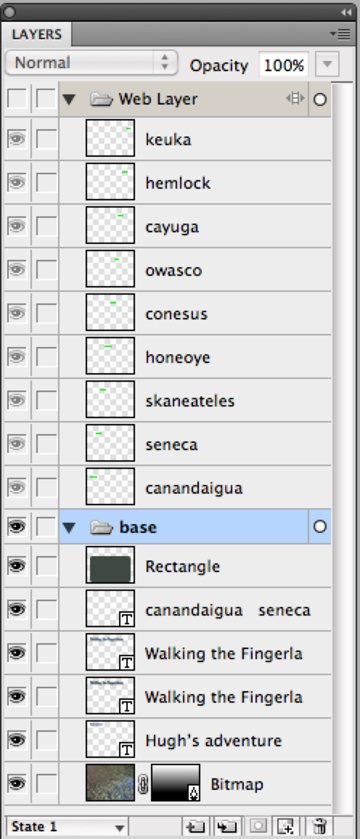
When working on the master page (more on that to come) you can see the Web Layer, which contains hotspots and slices only. Firewoks places them on this layer automatically, so you don't have to worry about that. If you name the hotspots and slices in the Properties panel, Fireworks uses those as layer names. Well worth taking the time to do!
When working on another page in a Fireworks file, the layers panel changes to show you the items on that page in the layer panel—see Layer 1 in the above right image.
WEB LAYER
Within the layers panel is a default layer called the “web layer.” This is where all the hotspots and slices that are created within a Fireworks document reside. You can name the slices and hotspots on each sub-layer of the web layer (double click on the name to change it), but it’s far more important to name them in the properties panel since those names are the ones that are exported with the file.
The slices and hotspots that are created within a Fireworks document dictate a table, and this table and its defining HTML code is what’s exported when you optimize and export a file. Areas that aren’t covered with slices or hotspots may or may not be exported, depending on what you specify in the export dialog box (see the section on OPTIMIZING & EXPORTING).
STATES
States are used for simple and disjoint rollovers, as well as for simple gif animations. You can create different states for a button for instance (up, over, down, over while down, and hit, or active state), or add states to create a simple animation (in this case, they are more like frames in Flash).
Double click a state to name it.
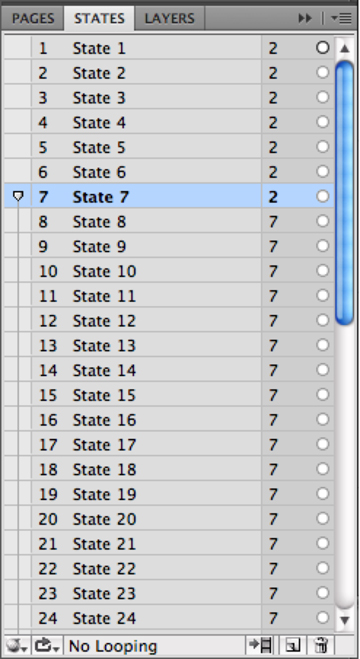
Add new states by clicking on the + state icon at the bottom of the panel, or choose Add States from the panel's submenu.
Turn on onion skinning so you can make adjustments with reference
to objects on other frames
Double click the frame delay column to change how fast or slow an animation
plays (lower numbers play the animation faster). HINT: select all the states together to change the delay for each at the same time.
 |
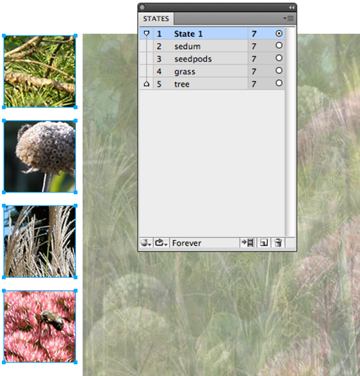 |
You can add states by clicking on the pad icon at the bottom of this panel, or use the submenu to add multiple states at once. At the left is the onion skinning option. Click in the square next to the last state you want to be able to see, then edit each state individually.
PAGES
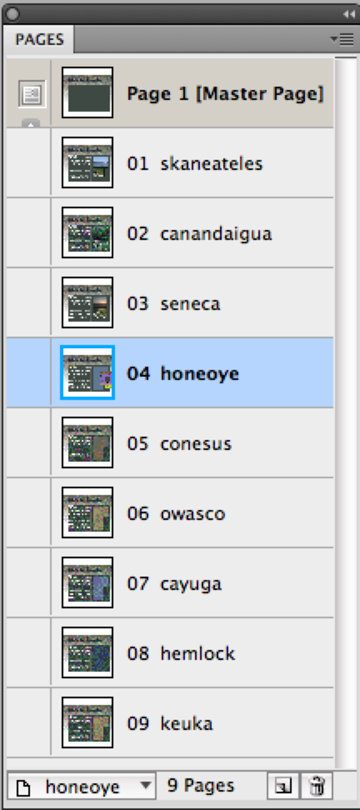 New in CS5 is the Pages panel. As Fireworks became more used as a prototyping/layout tool for site design, the ability to create multiple site pages in a single document became more important. In this panel, you can determine a master page, where all the common elements of a site layout reside. Additional pages are added, with the master items visible where there is no content on a site page.
Add new pages by clicking on the pad icon at the bottom of the panel, or use the panel's submenu.
Rename the pages by double-clicking on the generic name. You can turn the numbering option off in the panel's submenu. Reorder the pages (as well as the corresponding numbers) by dragging them up or down in the stack.
If you plan to create a prototype site for approval before starting in on the actual production, take the time to name the pages—you'll then be able to easily link from one page to the next for a "live" example of site navigation when you export the file to a PDF. To me, this is by far the most wonderful addition to this program in a long time :-)
(See this example PNG with pages (right-click/control-click to save the file), and this PDF, which shows site functionality by using intra-document links to go from one page to the other.)
LIBRARY
When you create a button or a symbol, it’s placed in the library. Drag symbols and buttons from the library to the canvas to use them.
Name or rename a symbol or button by double clicking it’s name in the list.
Duplicate a symbol by dragging its name to the pad icon at the bottom of the panel.
Add a new symbol by clicking on the pad icon. Or you can create the graphics on the canvas, select them and use Modify > Symbol > Convert to Symbol (F8, coincidentally).
Edit a symbol’s properties by clicking on the “i” icon. Edit the symbol graphics by double-clicking it in the Library preview pane. (See the section on Buttons for more about this type of symbol, and the video about Disjoint Rollovers for information on how to create them.)
Delete a symbol or button by dragging it to the trash icon.
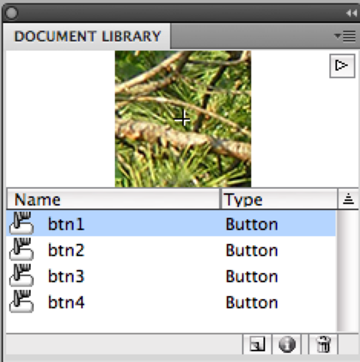 There is a Document library, and a Common library. You can choose to save symbols in the Common library if you will need to use them in other project. Any time you use a symbol from the Common library, it is placed in the current file's Document library. Take the time to explore the Common library options!
HISTORY
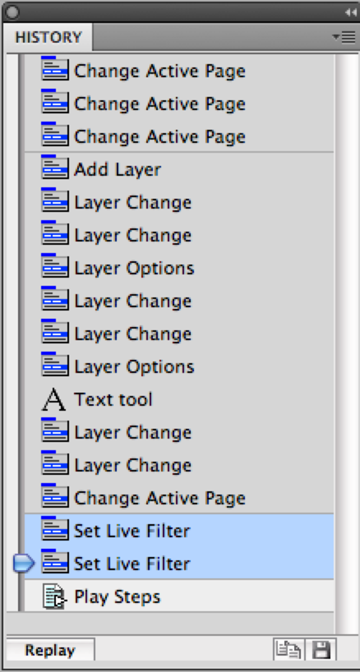 This panel is useful from time to time. Its best feature is the ability
to select several steps and then click the “replay” button
at the bottom. This performs those steps again, and again.
Save a series of steps as a command by selecting them from the list and then clicking the disk icon at the bottom of the panel, or selecting Save as Command from the panel's submenu. Name the command and click OK. Your saved command is now available in the Commands menu! This is particularly handy if you are taking the same steps over and over again (to add a border and drop shadow to an image, for instance).
Select the step you want to do again, then click the Replay option at the bottom of the panel
OPTIMIZE
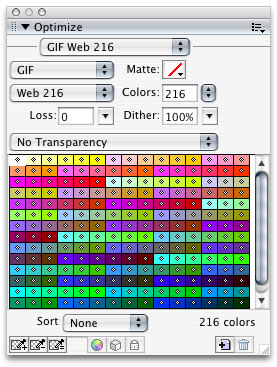
This is, perhaps, the most import panel of the bunch since the main object of using Fireworks is to create, edit/alter, and export images for use on the web. Use the optimize panel to test and then select the best format for your web graphics. See the section on OPTIMIZING & EXPORTING for more details.
Some of the other panels worth poking around in are the Styles, Pathfinder, AutoShapes, and Align. See the section on Color for more information about the Color panels