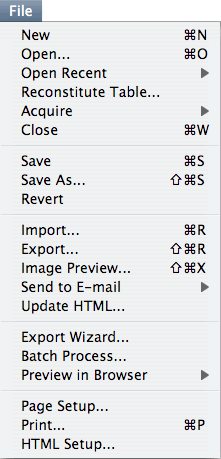
FILENew / command N Open / command O Open Recent Reconstitute Table Acquire Close / command W Save / command S Save As / command + shift S Revert Import / command R Export / command + shift R Image Preview / command + shift X Send to E-mail Update HTML Export Wizard Batch Process Preview in Browser Page Setup Print / command P HTML Setup
|
 |
|
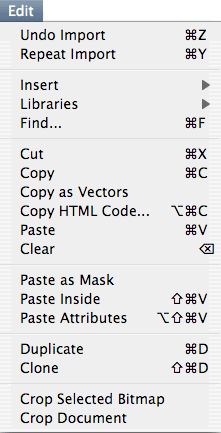
EDITUndo / command Z Do something again / command Y Insert
Libraries Find / command F Cut / command X Copy / command C Copy as Vectors Copy HTML Code / option command C Paste / command V Clear / delete key Paste as Mask Paste Inside / command shift V Paste Attributes / option command shift V Duplicate / command D Clone / command shift D Crop Selected Bitmap Crop Document
|
 |
|
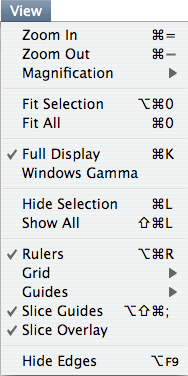
VIEWZoom In / command = Zoom Out / command - Magnification Fit Selection / command option 0 Fit All / command 0 (zero) Full Display / command K Windows Gamma Hide Selection / command L Show All / command shift L Rulers / command option R Grid Guides Slice Guides / option command shift ; (semicolon) Slice Overlay Hide Edges / F9
|
 |
|
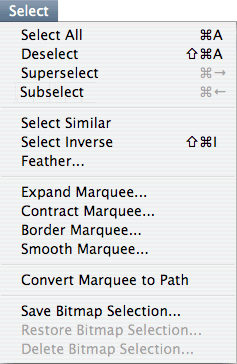
SELECTSelect All / command A Deselect / shift + command A Superselect / command right arrow Subselect / command left arrow Select Similar Select Inverse / command shift I Feather Expand Marquee Contract Marquee Border Marquee Smooth Marquee Convert Marquee to Path Save Bitmap Selection Restore Bitmap Selection Delete Bitmap Selection
|
 |
|
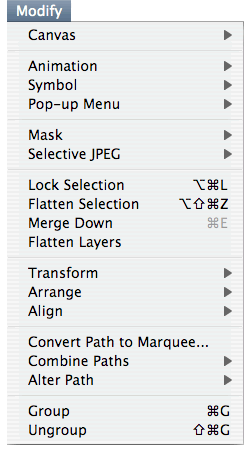
MODIFYCanvas
Animation Symbol Pop-up Menu Mask Selective JPEG Lock Selection / command option L Flatten Selection / command shift option Z Merge Down / command E Flatten Layers Transform Arrange Align Convert Path to Marquee Combine Paths
Alter Path Group / command G Ungroup / command + shift G
|
 |
|
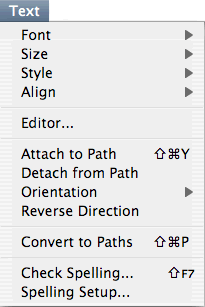
TEXTThis menu is fairly self explanatory. You can make most of the modifications available from this menu in the Properties panel. Font Size Style Align Editor Attach to Path / command shift Y Detach from Path Orientation Reverse Direction Convert to Paths / command shift P Check Spelling / shift F7 Spelling Setup
|
 |
|
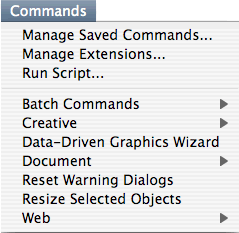
COMMANDSManaged Saved Commands Manage Extensions Run Script Batch Commands Creative Data-Driven Graphics Wizard Document Reset Warning Dialogs Resize Selected Objects Web
|
 |
|
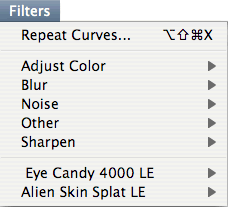
FILTERSThese work like filters in Photoshop. In fact, you can point Fireworks to your Photoshop filters/plugins using the "folders" pane in the Preferences dialog box. The first four work on selected areas. The rest (below the line) are those from Photoshop.
|
|
|
WINDOWDuplicate Window / command option N Hide Panels / F4 (or Tab) Minimize Window Bring All to Front Use the list underneath these commands to open the various floating panels available to use in Fireworks. Cascade Tile Horizontal Tile Vertical Under this command will be a list of all open documents.
|
|
|
HELPWhen you need to find out how something works, or how to do something, check here. I've found that more often than not, I can't find what I want, but it never hurts to try. Trial and error is a good way to learn! |