POP UP MENUSThese are all the rage. I’ve messed with them and have experienced some weird problems. But, it’s a wonderful feature and worth trying. A pop-up menu isn’t really a button in the classic sense, but it does provide a navigation system.
|
||
Either create a button, which has a slice automatically place over it, or use your slice tool to create a slice over a graphic. Then name it in the properties panel.
|
|
|
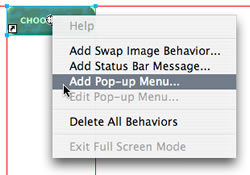
Click on the registration symbol in the middle of the slice to get a pop-up menu, and select “add pop-up menu.” |
|
|
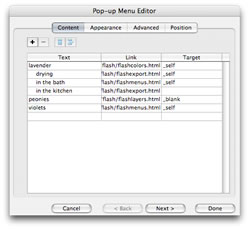
The pop-up menu editor window opens. You can tab from one line to a new line, or use the + button above to add additional items. To the right of the + and - buttons are your menu indents. The one on the left is for a straight forward menu. To create submenus for any item, click on the text, and then click on the menu indent icon. Once you’ve gotten all that information plugged in, click on the appearance tab or the “next” button.
|
|
|
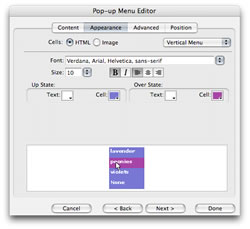
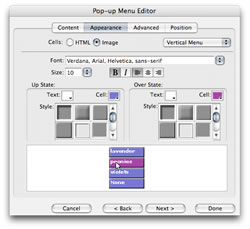
You can choose from “cells”, or “image” for appearance. In my experience, “cells” works better, although “image” is nicer looking. Play with the alignment (horizontal or vertical) font, size, style, and colors until it looks the way you want it to. When you’re satisfied, click the “advanced” tab, or the “next” button.
|
|
|
The advanced tab deals with the size of the pop-up menu sections, or cells. If what you see is too large or small, change the size in the cell height and width fields. Cell padding refers to the space between the cell color, or edge, and the text. If you want more space to the left and/or right of your text, increase the cell padding. Cell spacing is the space between each section. Menu delay refers to how long someone must have their cursor over the initial trigger before the pop-up menu kicks in. You have some additional choices here regarding appearance. When you’re happy with the preview, click the position tab, or the “next” button.
|
 |
|
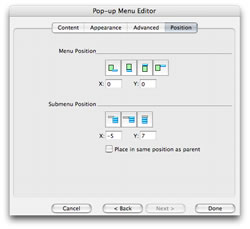
Position refers to where the pop-up menu will appear when it pops up. There are four pre-set options here, or, you can type in X and Y coordinates. Even easier, leave these as is and move the pop-up menu manually when you’ve exited the pop-up menu editor. You do need to establish the submenu position here, however, since there is no way to adjust it otherwise. When you’ve finished, click the “done” button.
|
|
|
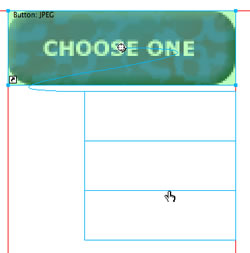
When you return to your canvas, click on the slice covering your graphic to reveal the size and position of your pop-up menu. If you want to reposition it, click within the blue outlines and move them. Double click within the blue outlines to edit the pop-up menu.
|
|
|
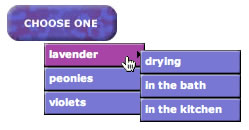
To see your menu in action, you must preview it in your browser (option F12)—the preview option in Fireworks won’t show you the whole thing. Make sure to use HTML setup to name your pop-up menu slices (under the File menu)! |
 |
|

