DRAWING
You can draw using vector-based tools, like the pen tool, or you can paint using the brush and paint bucket tools. Sometimes you will be working in vector mode, and at other times you will be working in bitmap mode. It’s sort of like combining Photoshop and Illustrator.
VECTOR DRAWING
Vector objects are defined with control points—just like the ones in Illustrator. The pen tool works almost the same, and you can use the vector path tool to draw in a freeform style.
Click with the pen tool to place corner points, and click and drag to create curve points. To end a path without closing it, double-click on the last control point.
Selected vector objects reveal the control points used to create them. Use the subselection tool (hollow arrow) to edit the points. Delete extra points by selecting them and using the delete key. Use the hollow arrow and option key to break handles for reverse curves.
The shape tools are all vector based.
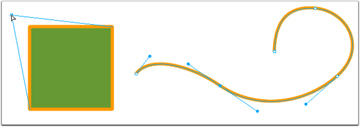
Use the subselection tool to adjust control points for shapes and paths.
Autoshape tools (under the basic shape tools) have additional control points (yellow diamonds) that alter the shape’s dimensions and characteristics.
To draw from the center of a shape, hold the Option key. Hold the Shift key to constrain the rectangle, ellipse, and polygon tools to perfect squares, rectangles, and even sided polygons or stars.
Modify these elements using the hollow arrow (subselection tool), any of the "transform" options under the Modify menu, the distort tools located under the scale tool, or the freeform and reshape tools. Don’t forget the “combine paths” options under the Modify menu as well.
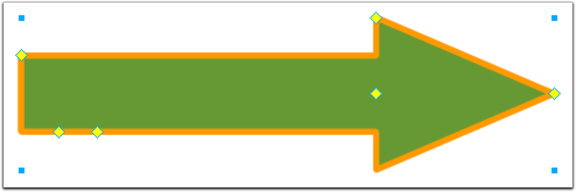
Use the diamonds to adjust various properties of an autoshape.
BITMAP DRAWING
Images on bitmap layers are edited using the painting tools—the brush, bucket, eraser, and marquee selection tools.
You can move bitmapped objects with the arrow tools.
The objects you create on a bitmap layer become "groups" and when selected with the solid arrow, have a blue bounding box around them.
You can move and transform a bitmapped "group" using the arrow tools, the transform options under the Modify menu, or the distort tool, found under the scale tool.
Once you've drawn something, you can change its appearance with the stroke, fill, and effects palettes.
More often than not, you’ll be using a photograph as a bitmap image. You can choose to open the photo from the File menu, or import it.
To import a photo, select “import” from the file menu and navigate to the file you want. Once you click “open” in the dialog box, Fireworks processes the image and your cursor changes to an inverted L. Position the cursor at the top left corner of where you want to place your image and click.
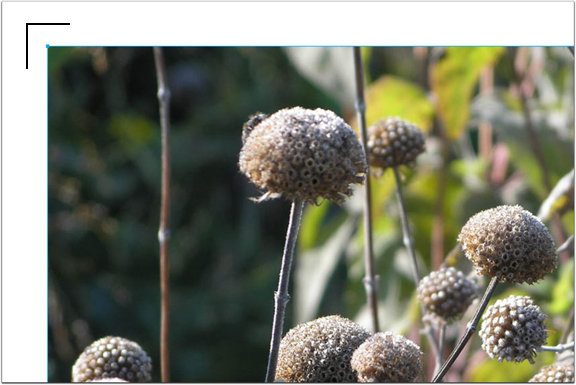
After choosing an image to import, place it by clicking the mouse where you want the top left corner to appear.
You can use the solid arrow and the shift key, or the scale tool (without the shift key), to resize the image in proportion. Crop it using the crop tool. Or, use the transform options under the Modify menu.
Once you have an image placed, edit it using the paintbrush, eraser, magic wand, rubber stamp, and other bitmap tools.
You can silhouette an image using the lasso and marquee tools: add to a selection using the Shift key, and delete from a selection with the Option key (just like Photoshop). Select inverse (Command Shift I) from the Select menu to switch your selection.
If you want to combine several bitmap images into one file, you can place and edit each one on a new layer or sub-layer within a single document (each time you import an image, it will be placed on a new sub-layer automatically), or you can prepare each image in a separate file and then copy and paste, or drag/copy them into a new file.
MASKING & PASTING INTO
One commonly seen technique for images is the fade from image to nothing. This can be achieved very easily using masks in Fireworks. A mask works much the same here as it does in Illustrator and Photoshop: the white portions of the mask allow the image to show through, and the black areas block the image without deleting/damaging the original. Shades of gray allow parts of the image to show through.
To create a mask, place or draw a bitmap or vector image on a sub-layer, and then draw your mask shape with any vector tool.
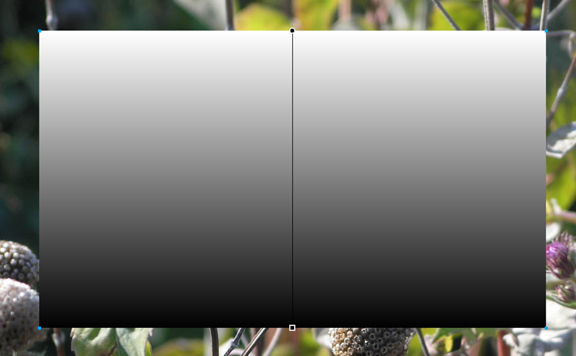
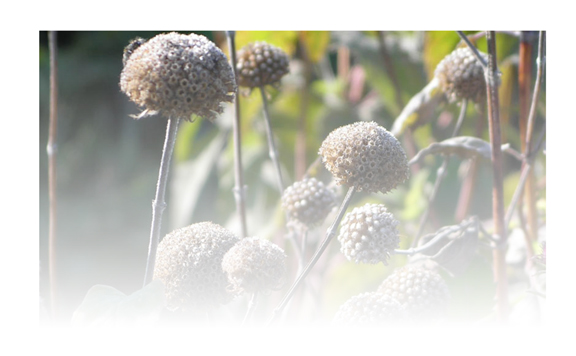
Creating a shape with a gradient fill, select both the image and the mask shape, and then choose Modify > Mask > Group as Mask.
If you want your image to fade out, fill the mask shape with a black and white gradient. Use the gradient adjustment points to make sure the white area is over the portion of the image you want to show, and the black area is over the area you want to fade out.
Select both and choose Modify > Mask > Group as Mask.
Vector shapes can also be filled with textures to create interesting effects
If you create a vector shape with a feathered edge, rather than a gradient, you can cut the mask shape (Command X), and then use Edit > Paste as Mask. Select the image you want to mask first.
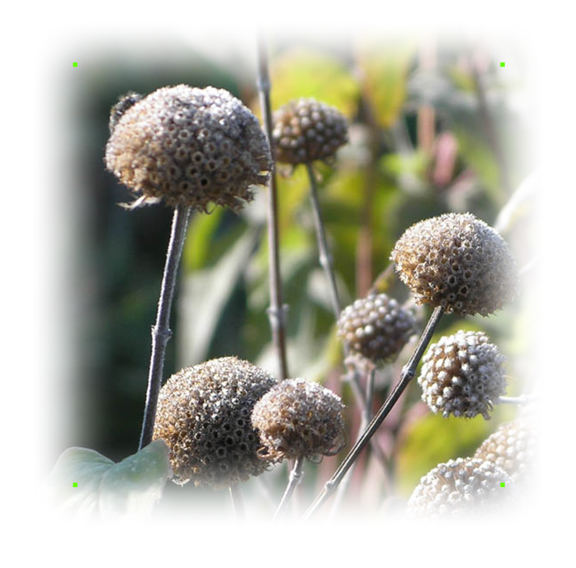
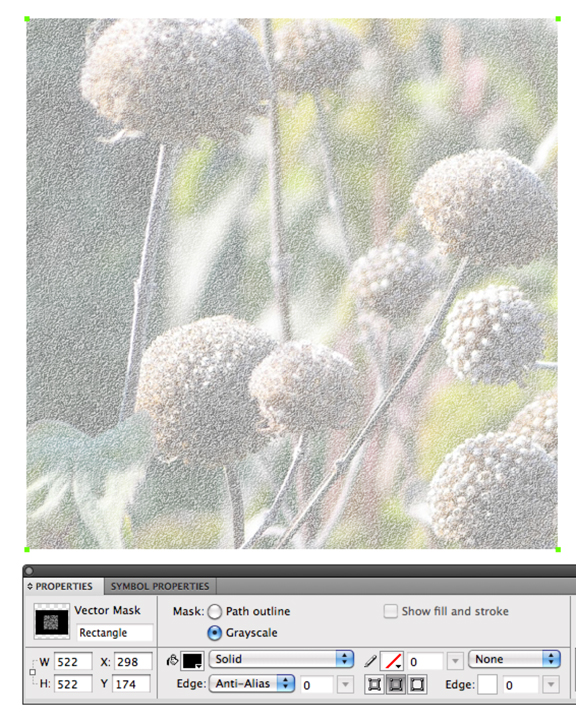
Draw a vector shape and apply a feathered edge, then cut the shape. Select the image, and use Edit > Paste as Mask. If you add a texture to the vector mask shape and use Paste as Mask, you will have to use the Properties panel to set the mask as a grayscale object.
Using the Paste Inside command from the from the Edit menu can achieve almost the same thing, but you can’t recreate a feathered edge.
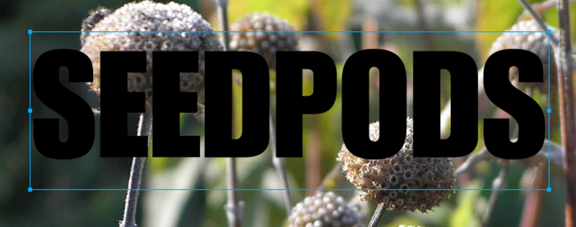
To use that option, create the shape you want to control the shape of your final object. To paste something inside text, type the text you want and select it; you don't have to outline it first.
Select and cut the image you want inside the shape you’ve drawn, and choose Paste Inside from the Edit menu.
In the example below, a bitmap image was pasted inside plain text.

Select a mask to make adjustments by clicking on it’s icon in the layers palette.
To move the mask independently of the masked object (or vice versa) click the chain icon between them to disconnect them from each other. Re-link them when you're done.
You can Control-click on a mask in the Layers panel to delete or disable it, or to apply it permanently—which would mean you could no longer edite it.
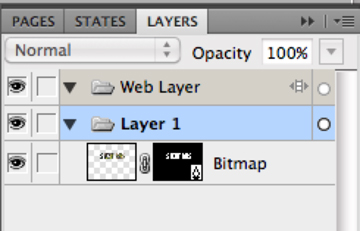
Click the chain icon between the bitmap (left) and the mask (right) to move them independently of each other. Click on the mask to edit it. Control-click on the mask to disable or delete it. You can also apply it as a permanent edit to the bitmap.